 Save
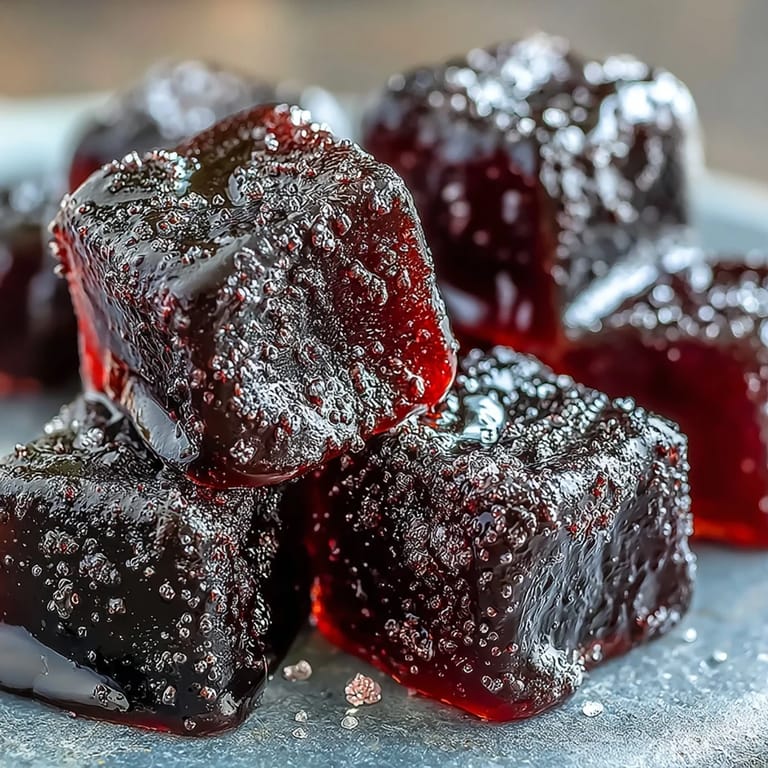
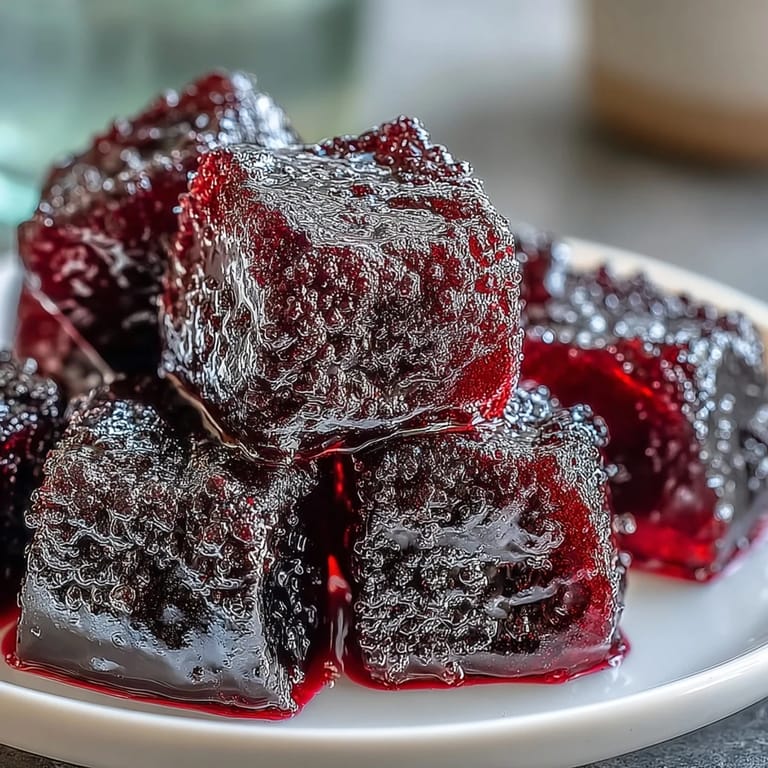
Save My kitchen was practically vibrating with the smell of black currants the afternoon I decided to make these gummies from scratch. I'd picked up a punnet of them at the farmers market, drawn in by their deep purple color and the vendor's insistence that they were "nothing like the jam version." Three hours later, my counters were sticky, my fingers were stained, and I had forty little jewels that tasted like summer decided to become chewy. It was the kind of happy kitchen accident that makes you wonder why you don't make candy more often.
I made a batch for my neighbor who'd been dealing with a tough week, and she came back three days later asking if I could teach her how to make them. We stood in my kitchen on a rainy afternoon, and she kept saying "I can't believe this is actually homemade," which felt like the highest compliment a home baker could receive. Now every time she mentions candy, I know what she's really asking for.
Ingredients
- Fresh or frozen black currants (1 cup/150 g): These little berries pack a punch of tartness that store-bought candy can never match; frozen works just as well as fresh, so don't stress about seasonality.
- Water (1/3 cup/80 ml for cooking): Just enough to gently coax the juice and flavor from the berries without diluting their personality.
- Lemon juice (2 tablespoons): This brightens the flavor and keeps the gummies from tasting one-dimensional, a trick I learned after batch one tasted a bit flat.
- Granulated sugar (3/4 cup/150 g): The sweetener that balances the tartness; it dissolves completely and won't give your gummies a grainy texture if you stir it properly.
- Unflavored powdered gelatin (3 tablespoons/30 g): This is your gummy's backbone, so don't skimp on quality or measure by eyeballing.
- Cold water for blooming (1/3 cup/80 ml): This hydrates the gelatin before melting, which prevents lumps and ensures silky texture.
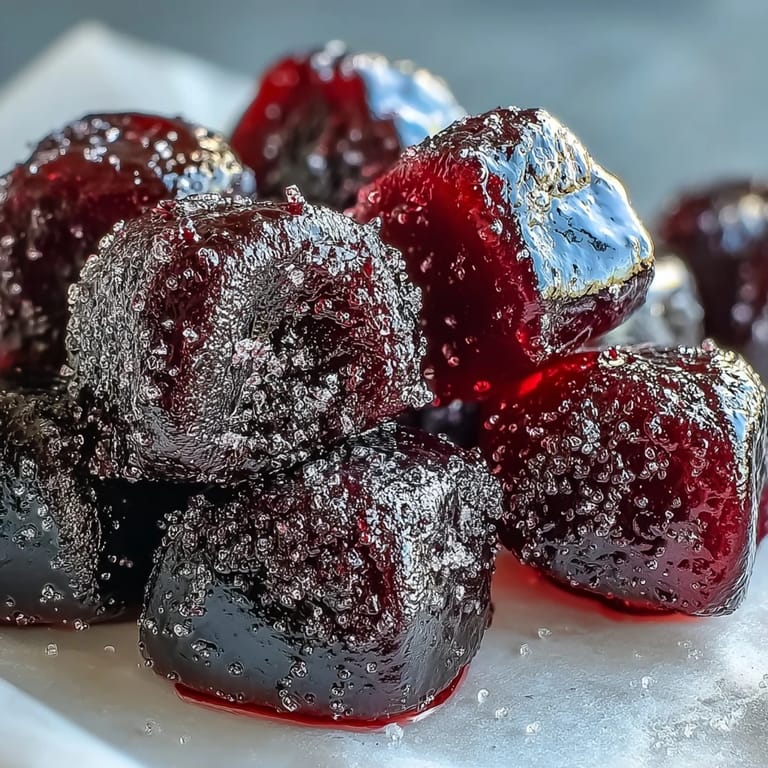
- Granulated sugar for coating (1/4 cup/30 g, optional): A light sugar coating catches the light and makes them look professionally made, plus adds a subtle crunch.
Tired of Takeout? 🥡
Get 10 meals you can make faster than delivery arrives. Seriously.
One email. No spam. Unsubscribe anytime.
Instructions
- Coax the flavor from the berries:
- Put your black currants and water into a saucepan and let them simmer gently for 5 to 7 minutes, until they soften and start to burst open. You'll smell something deeply fruity and a little sharp—that's when you know they're ready.
- Strain without losing liquid gold:
- Pour the hot mixture through a fine mesh strainer set over a bowl, and use the back of a spoon to press gently until you've extracted all the juice and pulp. This step feels a bit like mining for treasure, and you should end up with about 2/3 cup of puree.
- Sweeten and brighten:
- Stir the lemon juice and sugar into your warm puree until everything dissolves completely. The mixture should taste pleasantly sweet with a little tang underneath.
- Bloom the gelatin:
- Sprinkle your powdered gelatin over the cold water in a small bowl and let it sit untouched for exactly 5 minutes. It'll look like a lumpy sponge, which is exactly what you want—this is gelatin preparing to do its job.
- Combine gently without overheating:
- Pour your black currant mixture back into the saucepan on low heat and add the bloomed gelatin, stirring constantly until it's completely dissolved and invisible. Never let it boil, or you'll damage the gelatin's setting power.
- Pour and trap the air bubbles:
- Transfer your mixture to silicone molds or a parchment-lined 8x8-inch pan and tap gently on the counter a few times to release trapped air bubbles. This makes the difference between gummies that look handmade and gummies that look like they came from a factory.
- Patience becomes your ingredient:
- Slide everything into the refrigerator for at least 2 hours until they're set firm. The longer they chill, the firmer they become.
- Release and finish:
- Pop the gummies out of the molds, or cut them into squares if you used a pan. If you're coating them in sugar, do it right after unmolding when they're still slightly tacky.
 Save
Save There's a moment, usually around midnight on the day I made these, when I'd crack open the container and eat three or four straight from the fridge in the quiet kitchen. They were cold, they snapped a little, and they tasted exactly like I'd imagined they would. That's when I knew I'd nailed it.
Why Black Currants Are Worth Seeking Out
Black currants sit in this interesting space between tart and sweet, a flavor profile that most modern candy completely ignores. When you make these gummies, you're tasting something closer to what candy actually could be—real fruit, real flavor, nothing hiding behind artificial banana or cherry. I've never made a batch where someone didn't ask what berries I used, because the taste is that clearly different from anything commercial.
Molds Matter More Than You'd Think
Silicone molds make unmolding effortless and give your gummies a finished, polished look, but a simple parchment-lined pan works just fine if that's what you have. The squares from a pan are honestly easier to portion out and pack for travel anyway. I've done both methods multiple times, and the only real difference is how fancy they look—the flavor is exactly the same.
Storage and Shelf Life Secrets
These gummies keep beautifully in an airtight container in the refrigerator for about two weeks, though they rarely last that long in my house. They can technically sit at room temperature for a day or two, but they'll gradually soften and lose their snap. If you want them extra firm, leave them uncovered in the fridge overnight—they'll continue to set and become even more solid.
- Store them in a single layer with parchment between if you've stacked them, so they don't stick together.
- Keep them away from direct light and heat, which can cause the sugar coating to dissolve into sticky goo.
- If they ever get too soft, pop them back in the fridge for a few hours to re-firm them.
 Save
Save Making candy at home teaches you something strange: that the best treats aren't complicated, they just require a little attention and the willingness to try something that sounds harder than it actually is. These gummies proved that to me, over and over again.
Common Questions
- → How long do black currant gummies last?
Stored properly in an airtight container in the refrigerator, these gummies stay fresh for up to two weeks. They may become slightly firmer over time but remain delicious.
- → Can I make these gummies vegan?
Yes! Substitute the gelatin with 1.5 tablespoons of agar powder. Note that agar sets differently than gelatin, so the texture may be slightly firmer and the setting time might vary.
- → What other fruits work well for homemade gummies?
Raspberries, blueberries, strawberries, and blackberries all make excellent gummies. Adjust sugar based on fruit sweetness—tarter berries like cranberries may need additional sweetener.
- → Why do my gummies feel sticky?
Humidity can cause gummies to become tacky. Rolling them in granulated sugar after cutting creates a protective coating. Store them in the refrigerator with parchment paper between layers to prevent sticking.
- → Can I freeze these gummies?
Freezing isn't recommended as it affects the texture dramatically, making them rubbery when thawed. The refrigerator provides optimal storage conditions while maintaining perfect chewiness.
- → Do I need special molds?
Silicone candy molds work beautifully for uniform shapes, but a parchment-lined square pan works perfectly too. Simply cut into squares or use small cookie cutters for fun shapes after setting.